Skip to content

Sizing Your Heat Pump Correctly

N Northline Heat Pumps 11 min read

Why Heat Pump Sizing Matters

Getting heat pump sizing right is the difference between a home that stays evenly warm on the coldest days and a system that is noisy, inefficient, or constantly leaning on back-up electric heat. A correctly sized heat pump should meet your home's design heat loss at a sensible flow temperature, run for long steady periods, and modulate smoothly rather than cycling on and off.

There's a common misconception that bigger is safer. With heat pumps, oversizing often brings its own problems: frequent cycling, harder defrost management, and lower seasonal efficiency. Undersizing is just as frustrating: rooms that never quite reach temperature when it's cold outside, and higher running costs if the system regularly uses an immersion heater or other auxiliary heat source.

The aim is not the biggest unit you can fit; it's the smallest unit that can reliably cover the design conditions, matched to emitters and controls. That outcome starts with numbers that reflect your building, not rules of thumb. Lower flow temperatures usually mean better efficiency and comfort. System flow, pipework, and balancing matter as much as the heat pump itself.

The foundation is heat loss: how quickly heat leaves your home at a given indoor temperature when it's cold outside. In the UK, room-by-room heat loss calculations are typically aligned with recognised methods such as BS EN 12831-1. Even if you never see the spreadsheet, it helps to know what the calculation is doing.

Essential Sizing Principles

  • Start with a room-by-room heat loss calculation, not the old boiler size.
  • Use local design temperatures – 99.6% is common for UK sizing.
  • Radiators must be checked at low temperatures, not just ΔT50 ratings.
  • System flow, pipework, and balancing matter as much as the heat pump.
  • Treat any instant heat pump sizing calculator as a starting point, not a design.

Understanding Design Heat Loss

The calculation adds up fabric losses through walls, windows, roof, floors and ventilation losses through intentional ventilation and infiltration.

The result is a power figure for each room, in watts, plus a whole-house peak load in kilowatts. That peak load is what drives the space-heating capacity choice. Design temperatures are not what happens most winter days; they are a cautious cold-weather reference. Many UK heat-pump designs use the 99.6% winter external temperature from CIBSE Guide A weather data.

For Greater Manchester, a commonly referenced station for design conditions is Woodford, with an external design temperature of -4.5°C at 99.6% and -2.7°C at 99%. Altitude also matters: a typical adjustment used in MCS design-condition data reduces the design temperature by 0.6°C for every whole 100 m your property sits above the reference weather station altitude.

Room design temperatures also need to be consistent. For many modern UK calculations, 21°C is used as a general design room temperature, with bathrooms often set a little higher – for example 22°C – to reflect comfort expectations. That doesn't force you to live at those temperatures; it sets a design target so that the system can deliver comfortable results.

A heat pump sizing calculator can be genuinely helpful when it is grounded in proper inputs. The MCS Heat Load Calculator, for example, is designed to produce room-by-room and whole-property loads consistent with the MCS heat pump design approach. That said, any calculator is only as accurate as the data entered.

If the wall build-up is guessed, window areas are estimated, air leakage is assumed optimistically, or a conservatory is quietly ignored, the calculated heat loss can be wrong by a margin that makes the final heat pump selection look fine on paper but disappointing in real life.

For UK installations where MCS compliance matters, the design needs to align with the relevant MCS standards. As of August 2026, the design standard is set out in MIS 3005-D. You should expect a clear, documented heat loss calculation, explicit design temperatures, and an explanation of how the selected unit meets the load at those conditions.

If those pieces are missing, it becomes difficult to judge whether the capacity is genuinely appropriate or simply the next size up. Once the heat loss is known, the next step is matching it to real heat pump performance. Heat pumps do not deliver a fixed output regardless of conditions; their capacity and efficiency vary with outdoor temperature and required water temperature.

Emitters and Heat Pump Performance

Emitters are the other half of the sizing story. In most Manchester retrofits, that means radiators, sometimes with underfloor heating in extensions or refurbished ground floors. Heat pump radiator sizing is not about guessing bigger panels everywhere; it is about making sure each room can emit at least its design heat loss at the lower water temperatures a heat pump prefers. Radiator outputs are often published at the UK industry standard ΔT50 condition, which assumes 75°C flow, 65°C return, and 20°C room temperature. That rating is useful for boilers, but it will overstate what the same radiator can do at heat-pump conditions. To translate radiator performance to lower temperatures, manufacturers commonly provide correction factors or output tables for other ΔT values – for example ΔT40 and ΔT30. The key point is that output drops sharply as mean water temperature drops, so you cannot simply knock a bit off mentally and hope it works out. If a radiator schedule is being reused from a boiler system, the design should show either the radiator outputs at the intended design flow temperature, or the correction method used to convert ΔT50 ratings to that lower operating point. Flow temperature is where efficiency is won or lost. Heat pump flow temperature settings should not be treated like a boiler's dial where hotter equals safer. Higher flow temperatures increase compressor lift and typically reduce seasonal efficiency; lower flow temperatures usually improve efficiency, reduce cycling, and feel more comfortable because emitters run for longer at gentler temperatures. The constraint is simply physics: the emitters must be able to release enough heat into the rooms. In many radiator retrofits, the design target ends up somewhere in the mid-30s to mid-40s °C for flow temperature, but the correct value is the one that allows every room to meet its design heat loss without pushing the heat pump into consistently high temperatures. Weather compensation is the control strategy that makes that practical. Rather than running a fixed hot flow temperature and switching on and off, the heat pump adjusts its flow temperature based on outside conditions.

Get in Touch

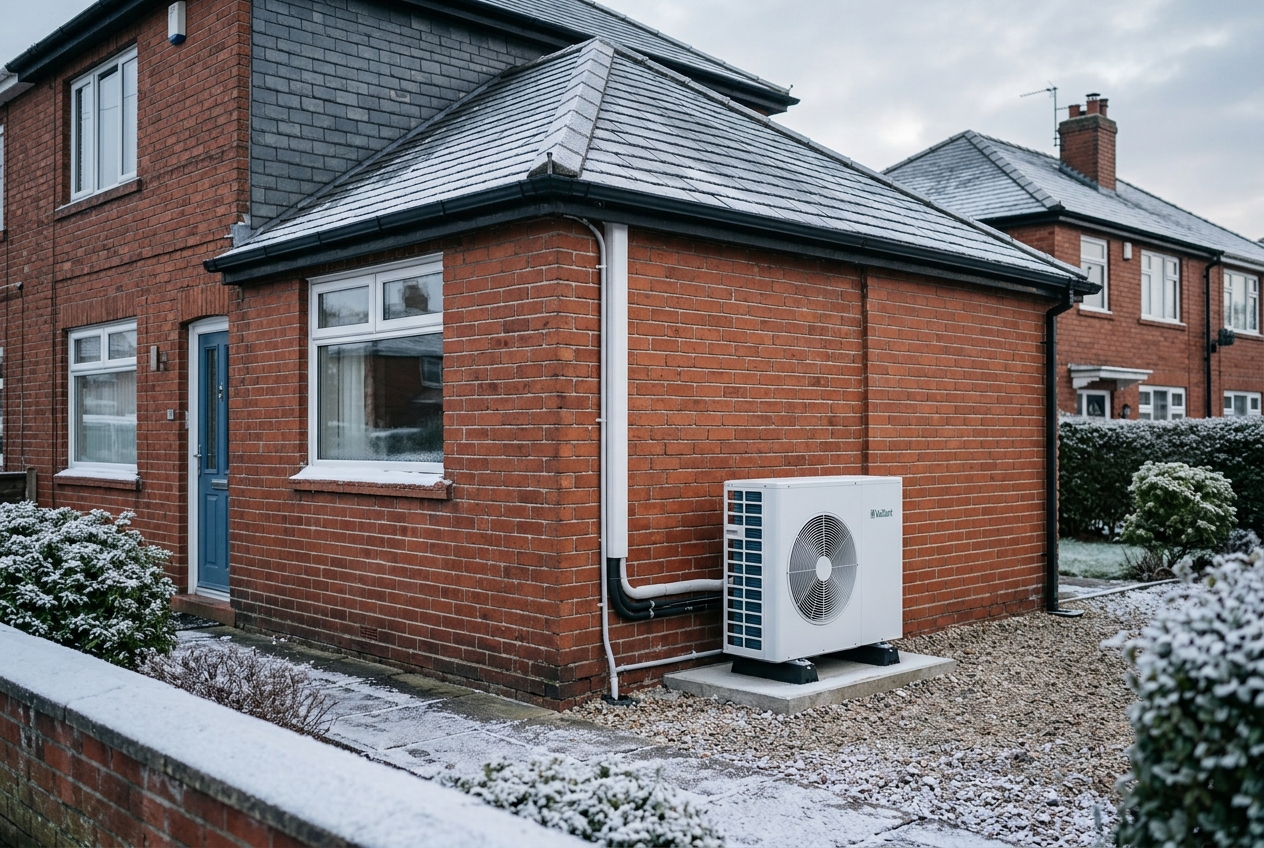
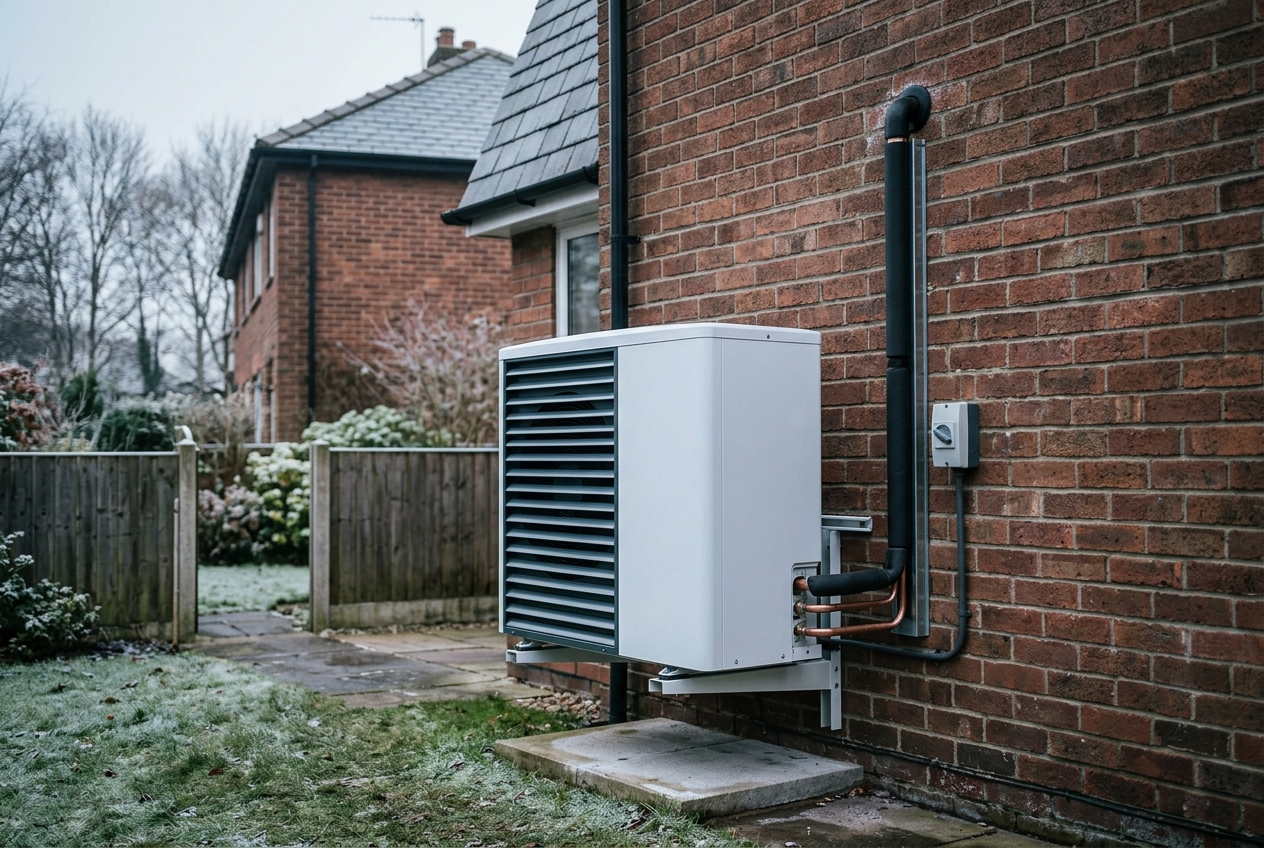
Outdoor heat pump unit mounted on exterior wall
Heat pump outdoor unit installation in a residential setting

The Disciplined Sizing Sequence

The most reliable way to approach sizing is to work through the process in a disciplined sequence. Each step builds on the previous one to ensure a robust design.

  1. Measure the building properly: room dimensions, ceiling heights, window and door sizes, and exposed wall areas.
  2. Identify constructions: wall type, insulation levels, glazing type, and any known upgrades such as loft insulation depth, cavity fill, or internal lining.
  3. Set design conditions: agreed indoor design temperatures by room, and the local external design temperature, often 99.6% for UK heat pump design.
  4. Calculate room-by-room heat loss, including fabric and ventilation losses, using an established method.
  5. Choose an emitter strategy: keep radiators, upgrade specific rooms, add underfloor zones, or use a mix.
  6. Select a target design flow temperature that lets emitters meet heat loss with sensible margins.
  7. Select heat pump capacity based on meeting the whole-house design load at that design point, while avoiding excessive oversizing and checking modulation.
  8. Finalise controls and hydraulics: weather compensation, zoning, cylinder sizing and recovery strategy, and commissioning targets for flow, balancing, and setpoints.

Worked Examples and Real Alignments

Worked Examples and Real Alignments

Practical Validation

A quick sense-check that often helps is to keep three numbers aligned for each space: the room heat loss in watts, the emitter output at the chosen design flow temperature in watts, and the design flow temperature itself in degrees Celsius. For example, a living room might have a design heat loss of 1,400 W, an emitter output at design conditions of 1,500 W, and a design flow temperature of 45°C. Bathrooms often reveal the truth because towel rails are commonly undersized at low temperatures.

The heat loss is the truth, and everything else must be made to match it.

Key Design Considerations

Three critical aspects determine whether your heat pump system will deliver reliable comfort and efficiency across every season and weather condition.

Hydraulic System

The hydraulic side of the system can quietly undermine good sizing if it's not handled well. Flow rates need to match the heat pump's requirements and the emitter circuit design. Pipework restrictions, incorrect pump settings, or poor balancing can reduce delivered output even if the heat pump is theoretically large enough. A design should account for the temperature drop across the heating circuit, ensure the distribution system can actually move the required heat, and allow for proper zoning where needed. If a buffer tank or volumiser is proposed, it should have a clear purpose – for example, hydraulic separation or minimum volume for stable operation – not simply be used to paper over a control or cycling problem.

Weather Compensation

Weather compensation is the control strategy that makes efficient operation practical. For the homeowner, the benefit is steadier room temperatures and better efficiency. For sizing, it means the design must be consistent: the heat pump capacity, radiator outputs, and the chosen weather-compensation curve must all point to the same design point at the coldest expected outdoor temperature.

Modulation Range

A good design checks that the chosen model can meet the design heat load at the design outdoor temperature and the intended flow temperature, with enough modulation range to run efficiently in milder weather. This is where oversizing can backfire: if the minimum output is too high for typical days, the heat pump cycles, raising wear and reducing seasonal performance. For most homes, that is the route to a system that feels comfortable in every room without constant fiddling.

Room Sizing Example Alignment

Room Heat Loss Emitter Output
Living Room 1,400 W 1,500 W 45°C flow
Main Bedroom 650 W 700 W 45°C flow
Home Office 900 W 950 W 50°C flow
Bathroom 600 W 400 W 45°C flow

The bathroom example shows a shortfall, so an emitter change is needed.

Pre-Commitment Design Checklist

Before any final commitment, it helps to run through a practical checklist that links design to reality.

  • Room-by-room heat loss provided, not just a single whole-house number.
  • Local design outdoor temperature stated, with the chosen percentile (99% or 99.6%).
  • Radiator outputs shown at the proposed design flow temperature.
  • Any rooms with shortfalls identified and emitter upgrades specified.
  • Weather compensation curve approach explained in plain terms.
  • Commissioning plan includes balancing and verifying flow temperatures in operation.